
DomeRock V4 5th Gen 4-Runner Install Instructions
Harness wires
Yellow Wire - Output to Rock Lights Relay (Coil+)
Black Wire - Dome Light Ground Trigger (PWM)
Red Wire - Fused Battery Connection
Description
T-Harness added for Plug N Play Installation. The only wire you will have to tap is your Rock Lights relay coil+ wire.
Warning
THIS PRODUCT MUST BE WIRED TO A RELAY! FAILURE TO DO SO COULD RESULT IN HIGH HEAT, POTENTIAL FAILURE OF THE BOARD, AND MELTING OF THE ENCLOSURE. THIS PRODUCT SHOULD NOT DIRECTLY FEED ANYTHING OTHER THAN A TYPICAL AUTOMOTIVE SPDT/DPDT RELAY! PLEASE REVIEW DIAGRAMS AND INSTRUCTIONS BEFORE INSTALLATION.
DomeRock V4 Inputs/Outputs

Wiring Diagrams (Connection to Rock Lights)
CH4x4 Switch Wiring Diagram

SwitchPro Wiring Diagram

5th Gen 4runner DSIM install with existing rocklights:
Step 1: Pop the SRS curtain airbag cover off the A pillar. Flat blade screwdriver or plastic pry tool works well.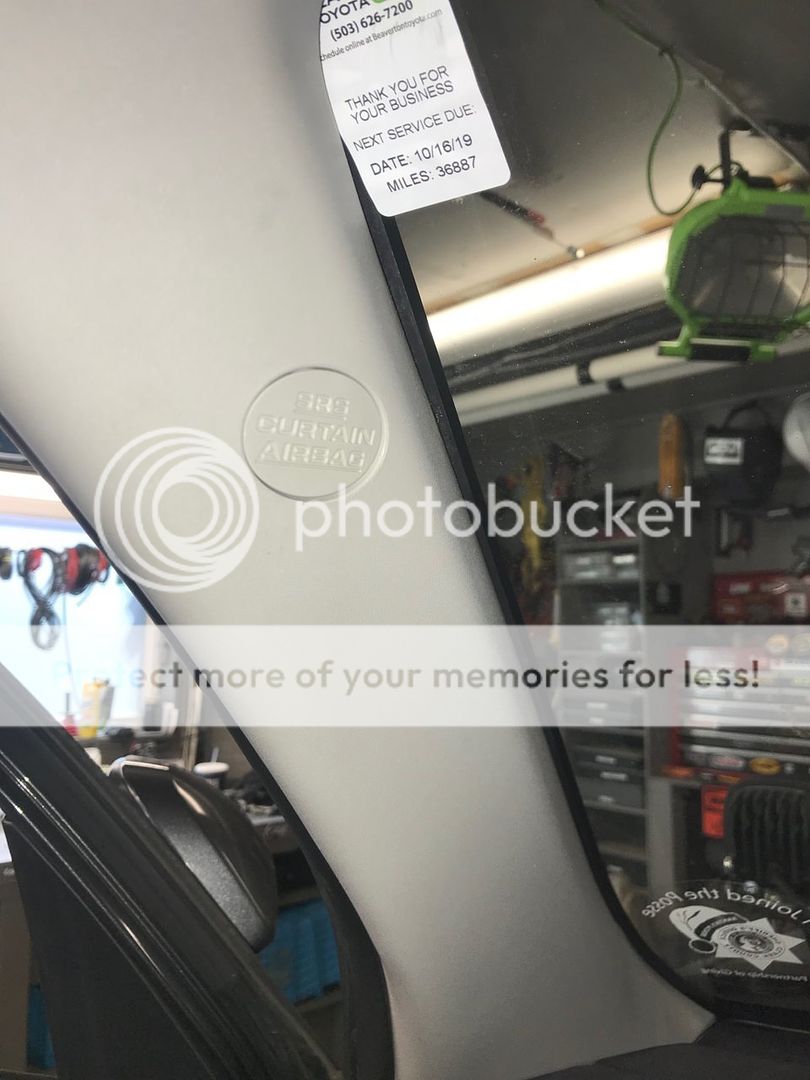
Step 2: Use a 10mm socket to remove the bolt as shown in pic below.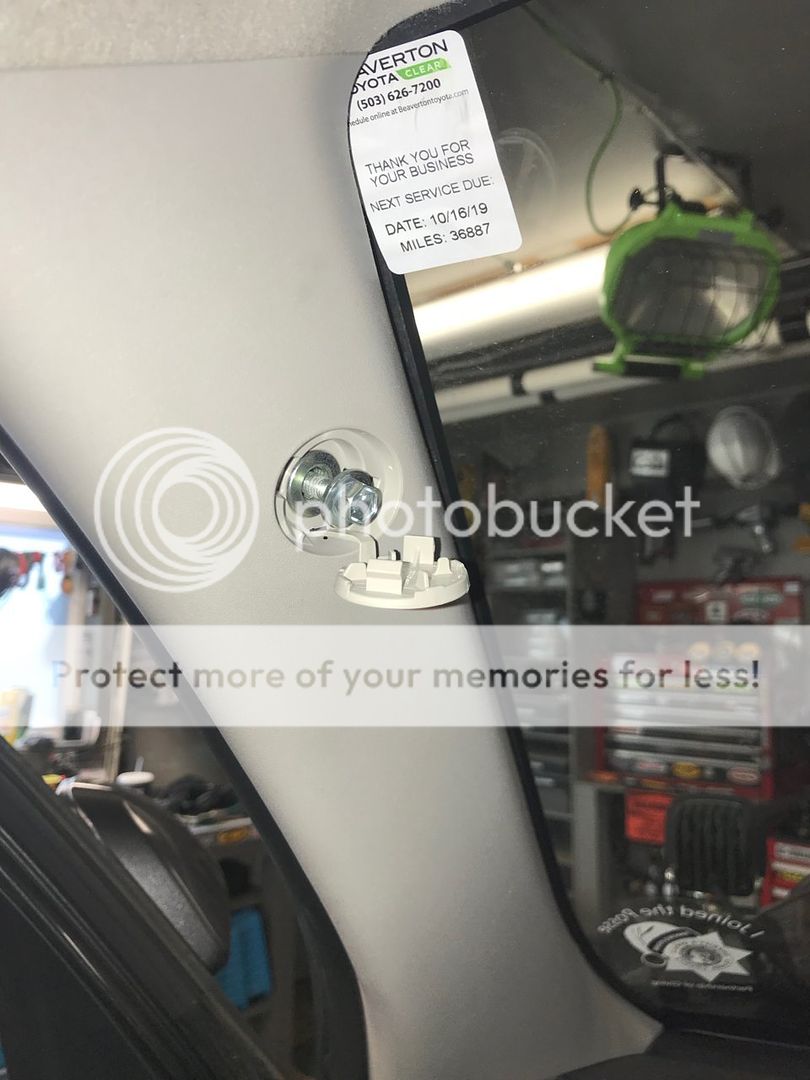
Step 3: Pull the A pillar plastic cover off, towards the passenger seat, starting at the top and then towards the bottom, be careful not to pull on the airbag. You should see what is shown in the below image. Our objective is to get to the bottom wire connector closest to the driver.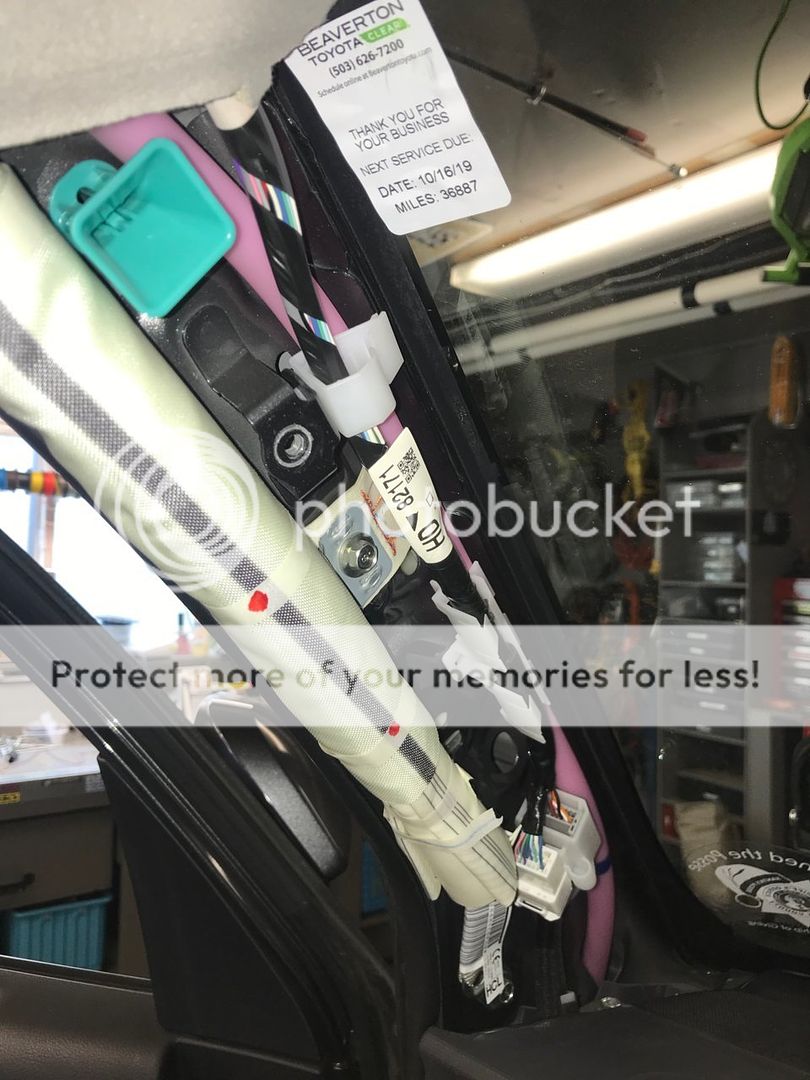
Step 4: Gently pull the wire loom from the two clips that hold it to the A pillar, one clip on each side of large white sticker on the cable run. That will give you tension in the line for the next step.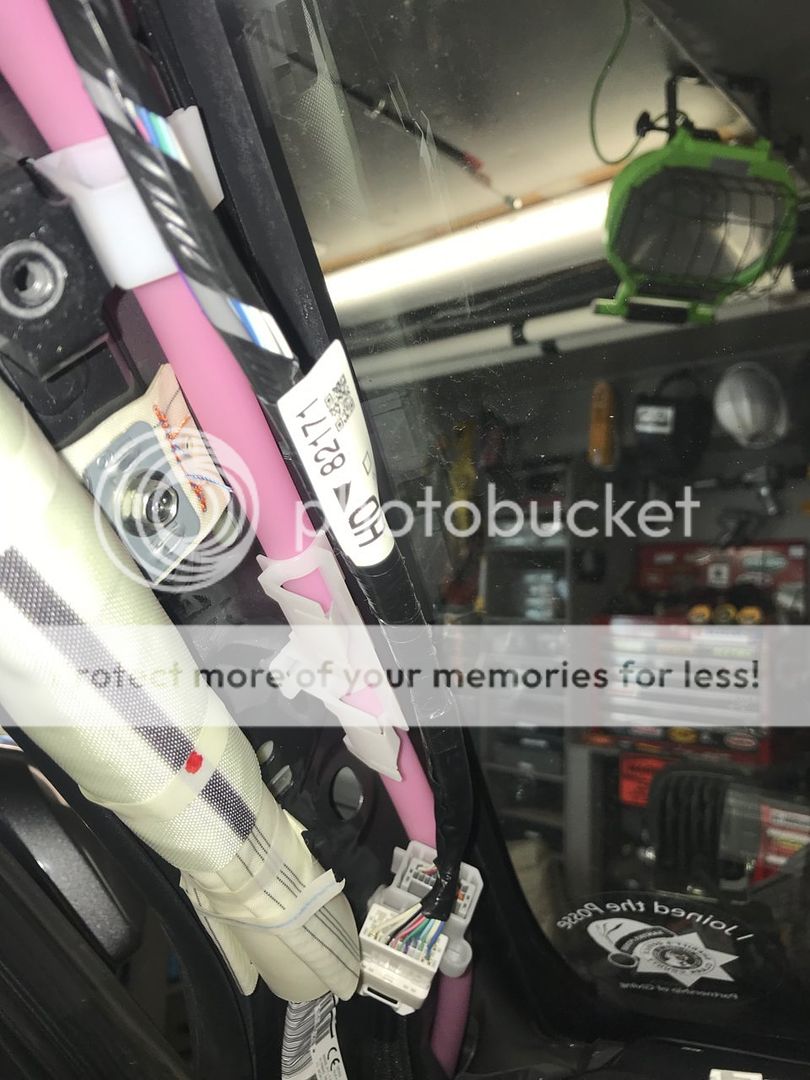
Step 5: Pull the two connectors away from the A pillar to pop the plug out of the A pillar, I used a plastic pry tool to assist in removing it, be careful to not hit any wiring or the airbag. See below pic, finger pointing to the plug that was in the A pillar.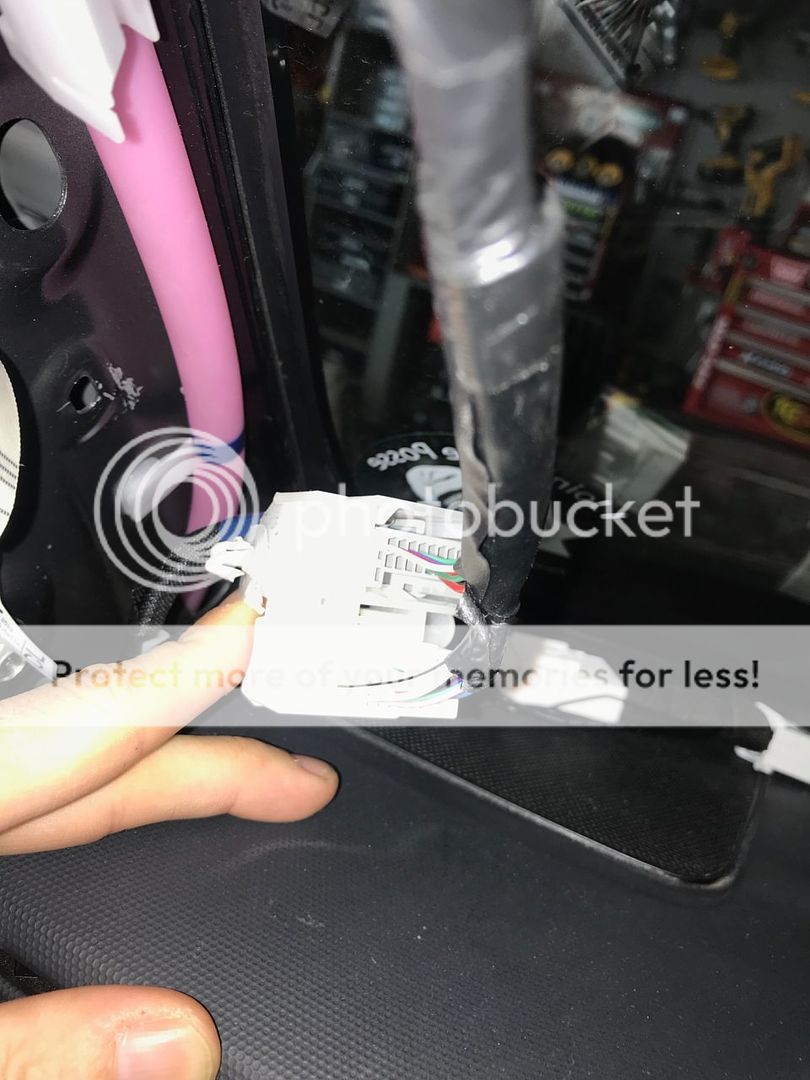
Step 6: Now you can disconnect the front harness by pushing in/squeezing the clip and pulling the plug down. This is why we removed the harness from the A pillar, we have to pull the plug down.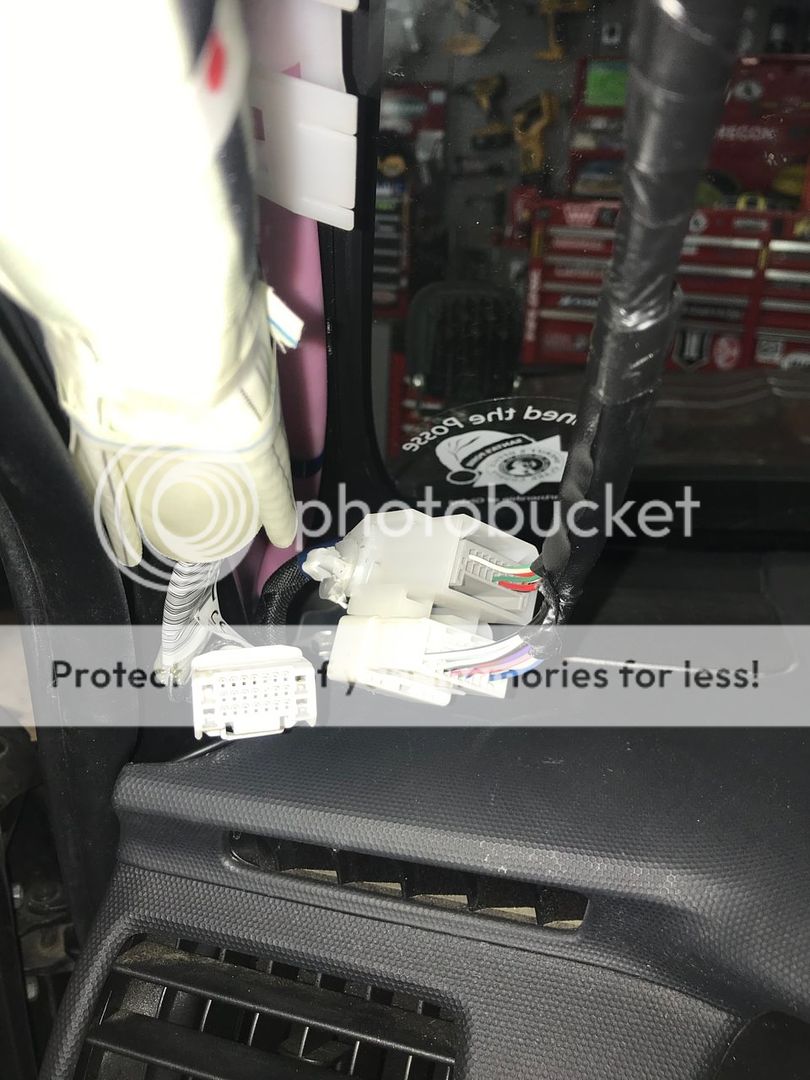
Step 7: Plug the DSIM harness in between the plug and existing Toyota harness as shown below.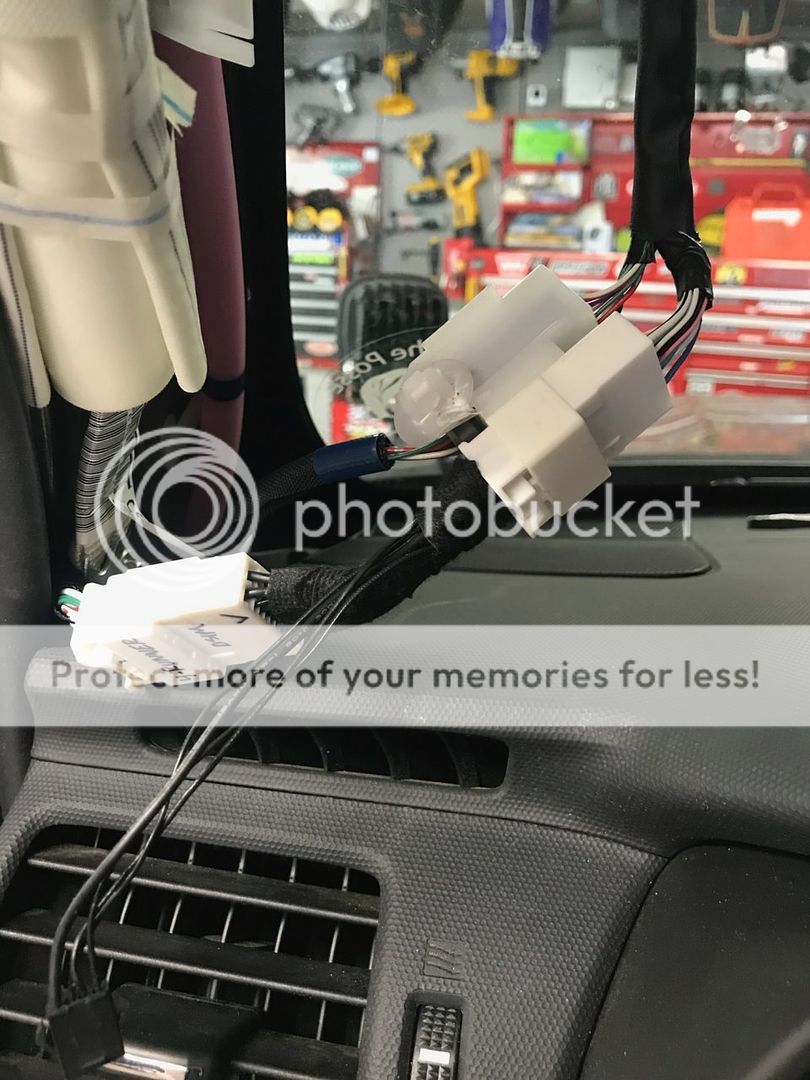
Step 8: Remove the plastic dash piece where the mirror adjuster is, pull it towards you to remove. I used a small plastic pry tool to help get it started. Be sure to not yank it off as there are wires attached, they do have slack though.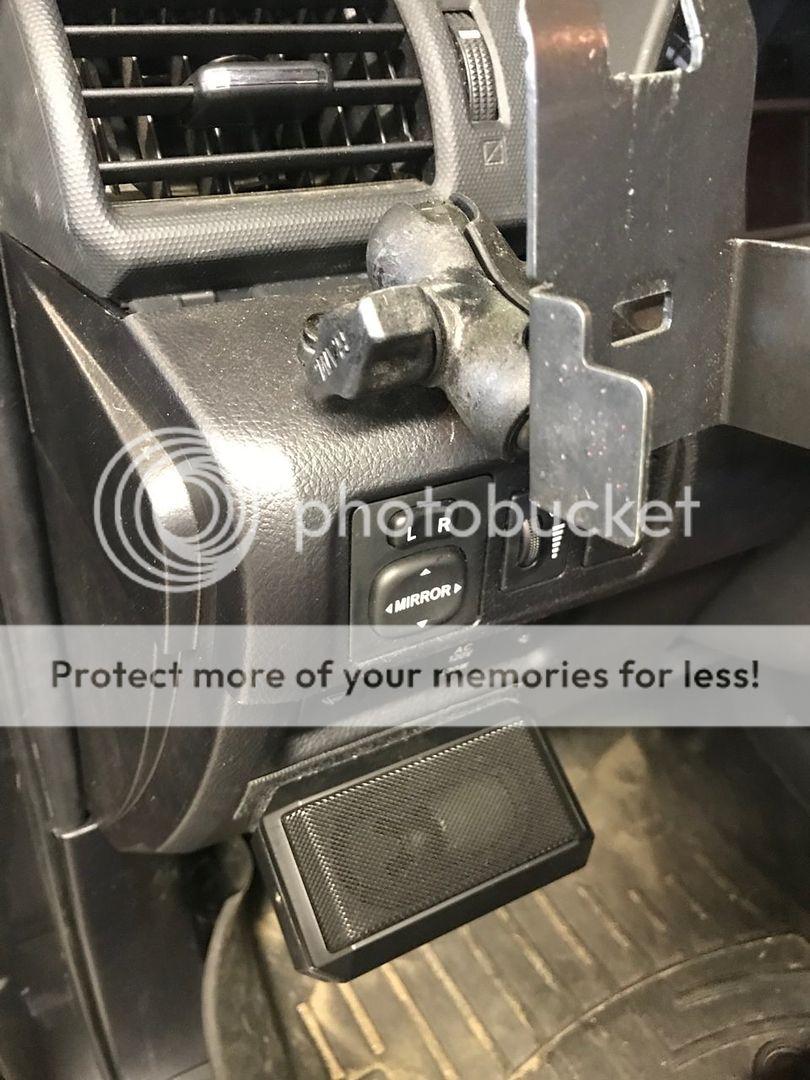
Step 9: Unplug the two harnesses that go to the mirror adjuster and the dash lights dimmer. Set the plastic aside.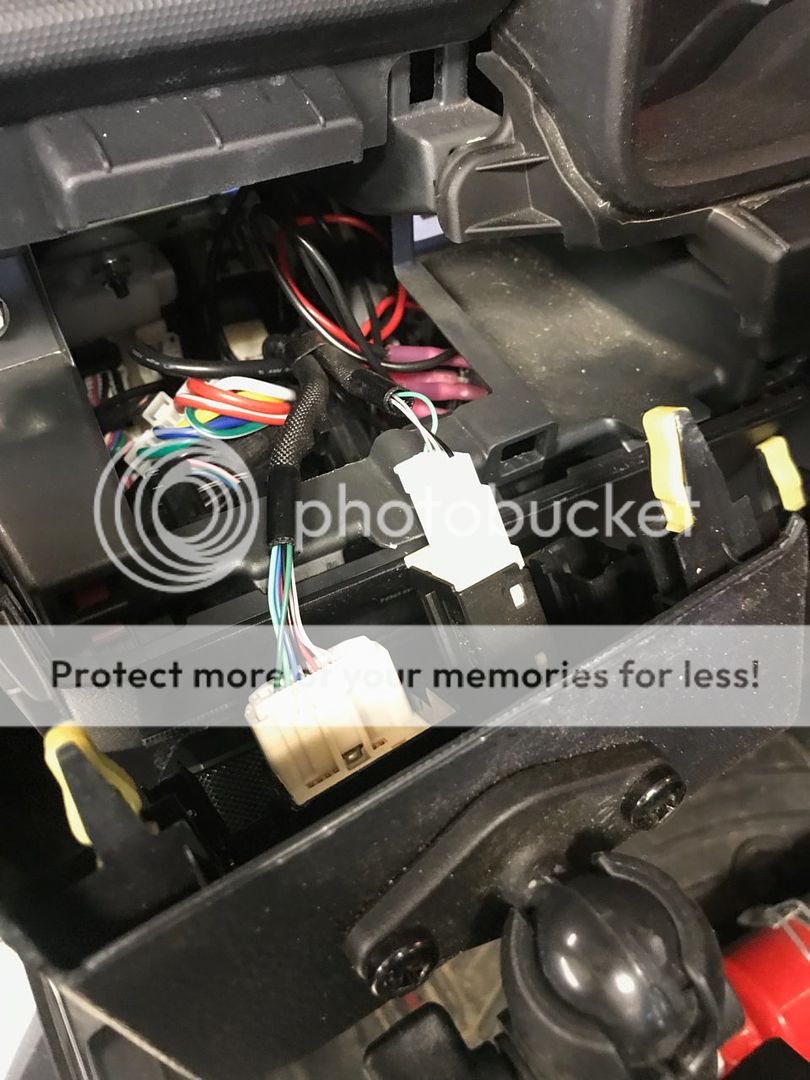
Step 10: Find the small white plug, it will have a black, red and yellow wire. Drop the end with the white plug in an existing opening by the A pillar that goes down beside the dash.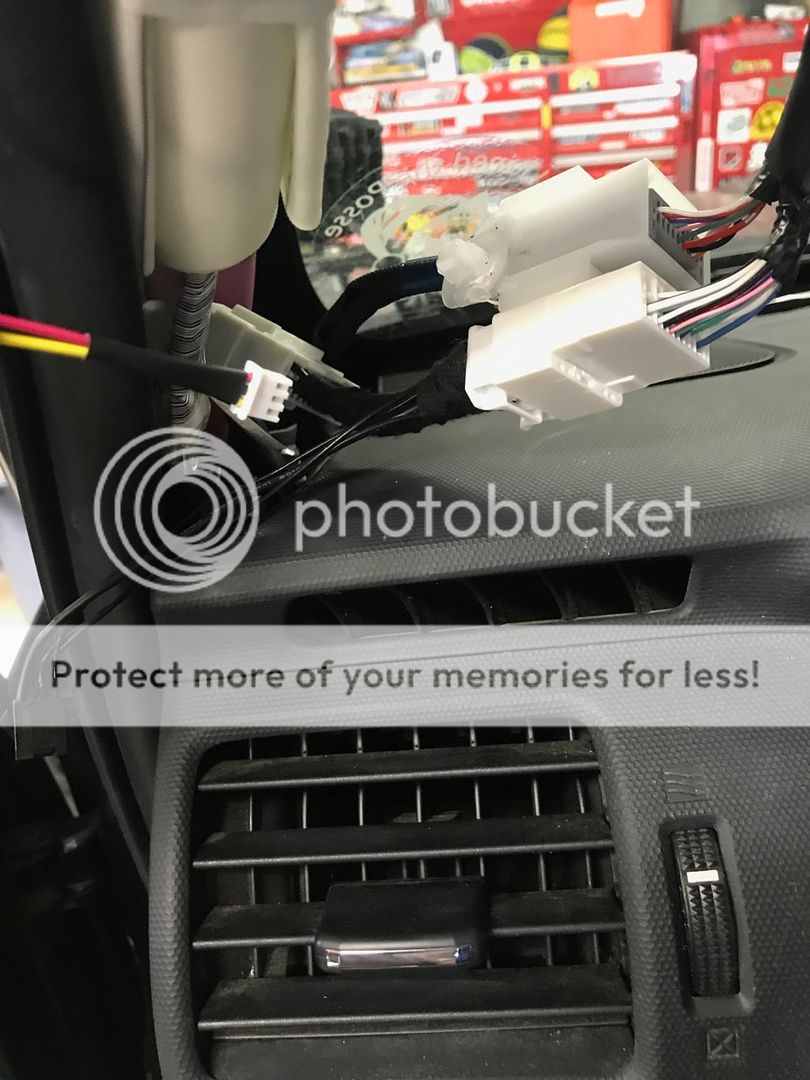
Step 11: Look in the open space and fish out the white plug.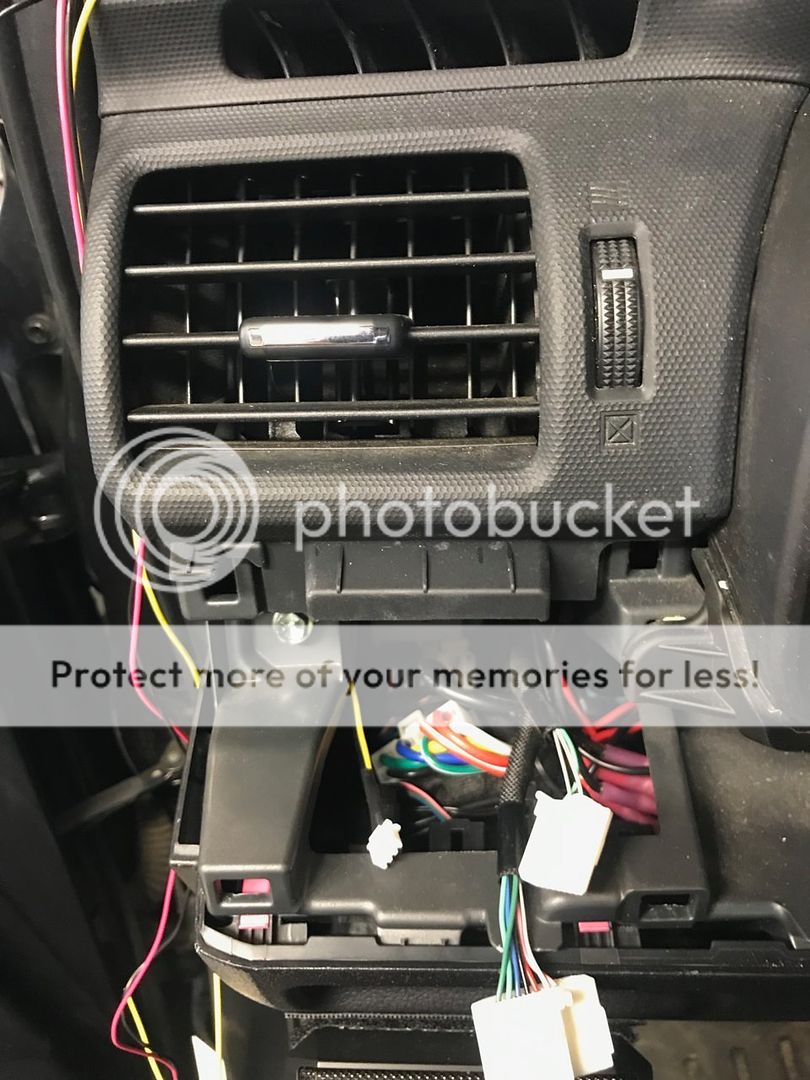
Step 12: Plug the black end of the three wire bundle into the DSIM harness.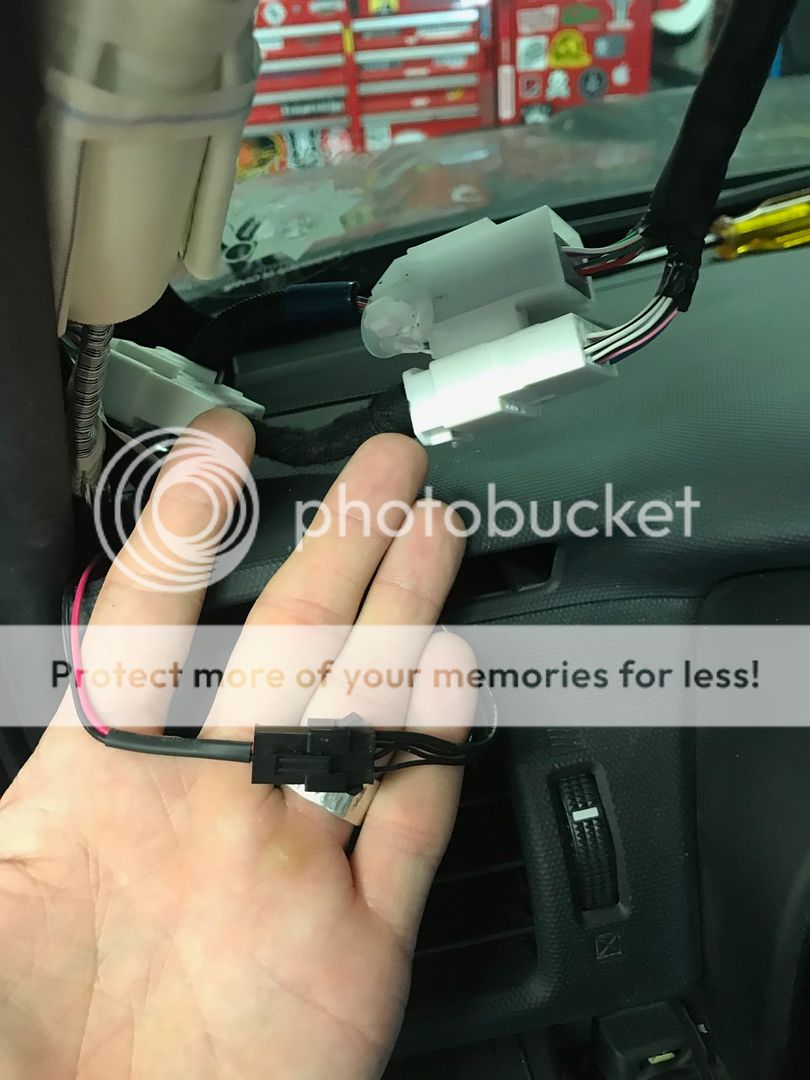
Step 13: Moving back down to the hole where you pulled the white plug from, pull the slack out of the wires from above and then drop the yellow wire down in the lower dash area like we did with all three wires before.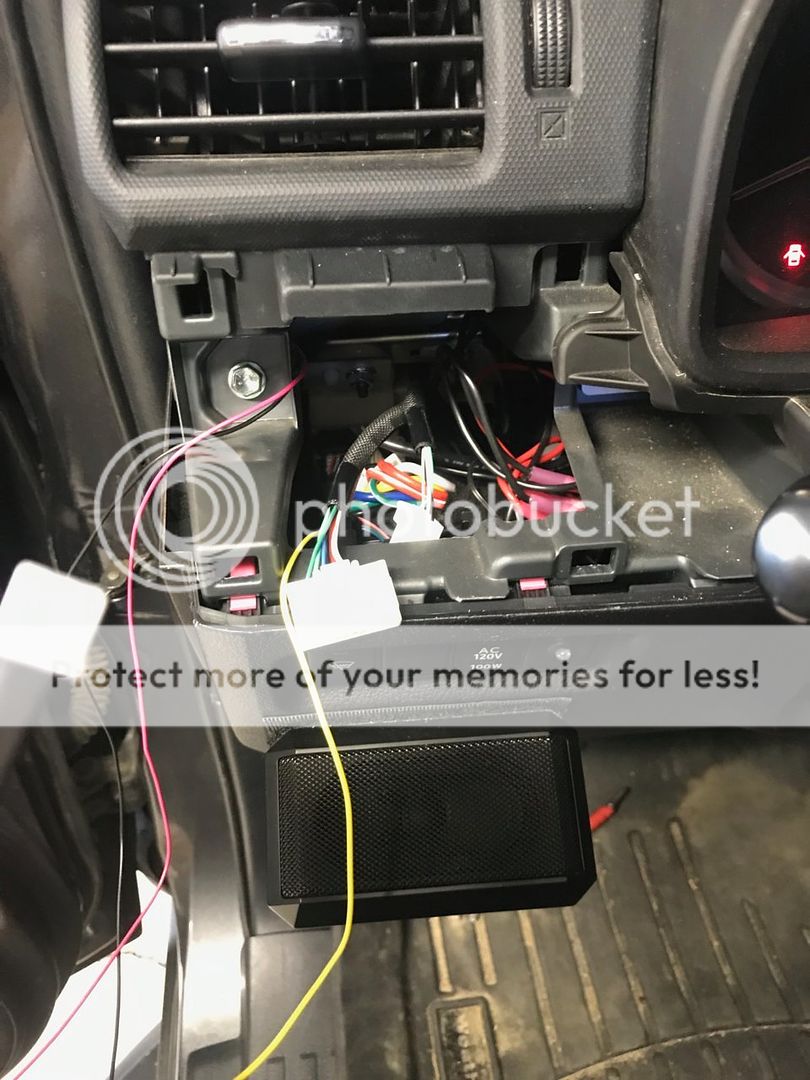
Step 14: Once you have pulled the yellow wire through from below you can plug it in to your rock lights, footwell lights etc by using a T-tap to the triggger wire that runs between the relay and switch for your lights. Make sure you are using a relay! Then bundle up the slack from the yellow, red and black wires and zip tie them together. You will also plug in the DSIM module. 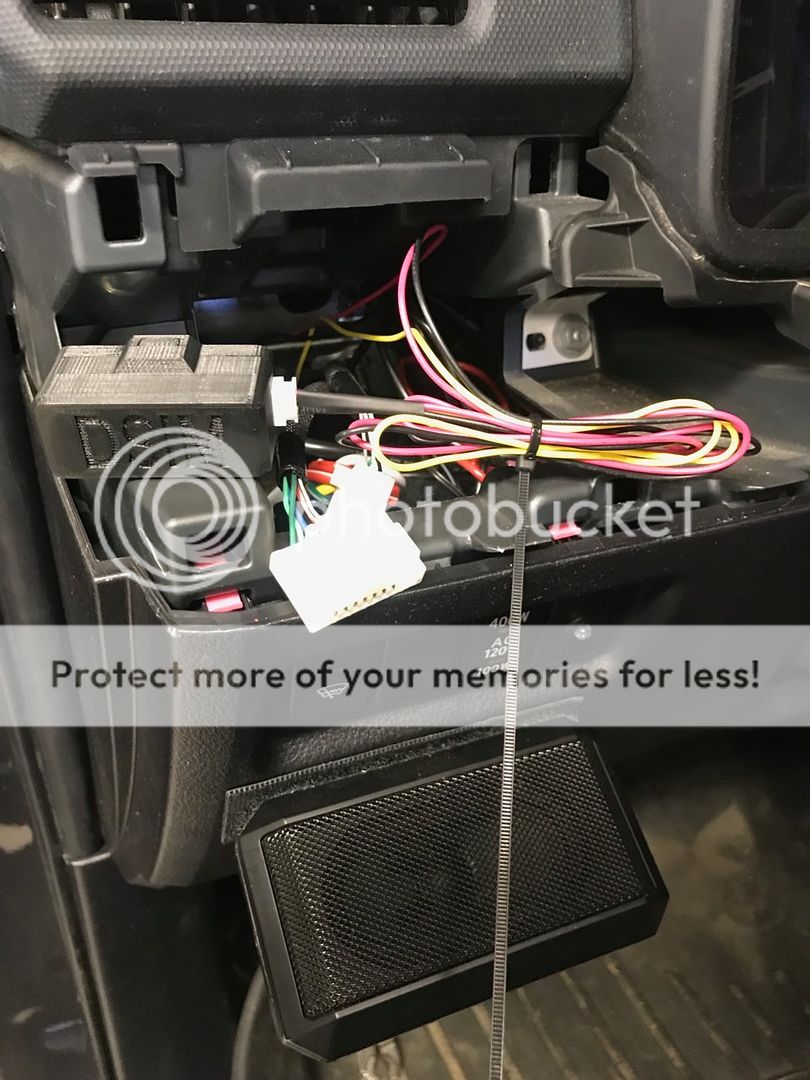
Step 15: Using the existing hole on the left of the DSIM module zip tie it to a wire that doesn't move around to prevent rattling. Now reinsert the plastic dash piece making sure to re-plug in your two harnesses for dash lights and mirror adjustment.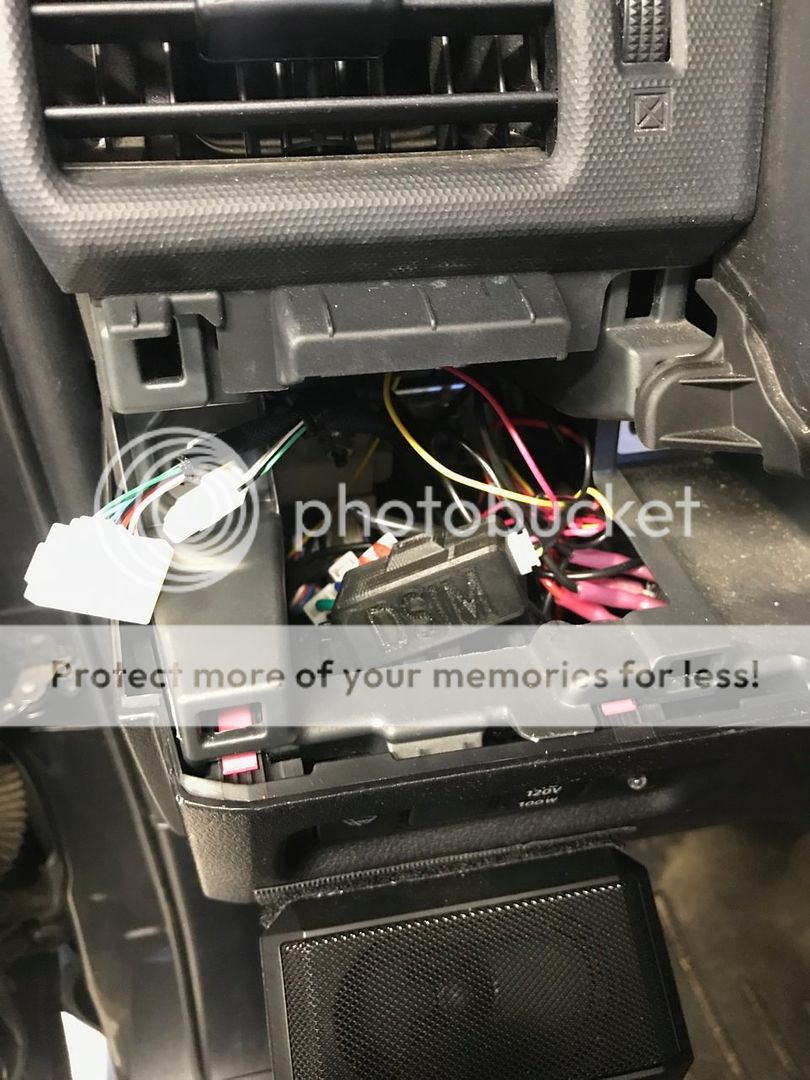
Step 16: Re-tuck in the main wire bundle to the clips on the A pillar that we removed them from before for slack. Tuck in the DSIM harness below where we push in the clip we pulled out of the A pillar.
Step 17: You're done, there is no step 17.... Enjoy your lights.
Video file I took after install: